Autopilot Installation |
|
Autopilot Installation |
|
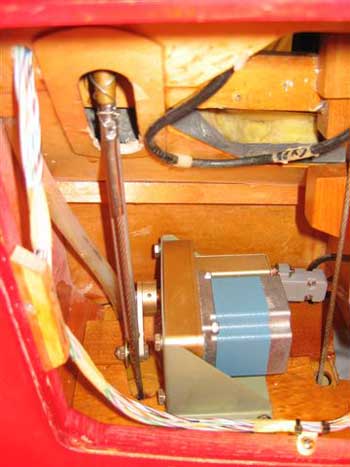
The aileron servo was probably the hardest to mount. The blocks in the drawings for the Century I autopilot are useless for the Trutrak, so I decided to mount it on the inside face of the #1 rib. To be safe I fitted a 10 mm thick piece of spruce to the rib with a little blocking around the edges. A total overkill to be sure but better safe than sorry.
Obviously from this the servo brackets are mounted onto this spruce doubler. The push rod enters the fuselage through the provided hole as in the drawings, and connects onto the control stick joining arm (P/N 718) by welding on a small extension plate of the same 4130 material. This plate is drilled to accept a 3/16 AN bolt to capture the rod end bearing on the end of the pushrod. Penny washers were used on the outside of the bearing in case of a bearing failure and collapse. The length of the extension was just long enough to keep the bolt/bearing out of fouling trouble at full throw. I had to run a couple of extra wires to the servo as well. The mounting of the servo in the wing was fiddly and time-consuming but relatively simple.
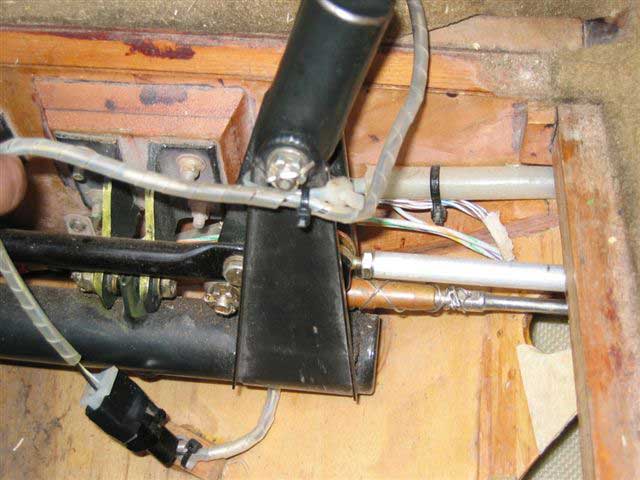
The pitch servo was mounted on a doubler plate in the belly next to the negative bus bar. The pushrod provided wasn’t long enough mainly because of where my fuel drain for the rear tank is placed. The fuel tanks and lines in DJD are our own construction, so probably vary a little to the ones supplied in the Falco kits.
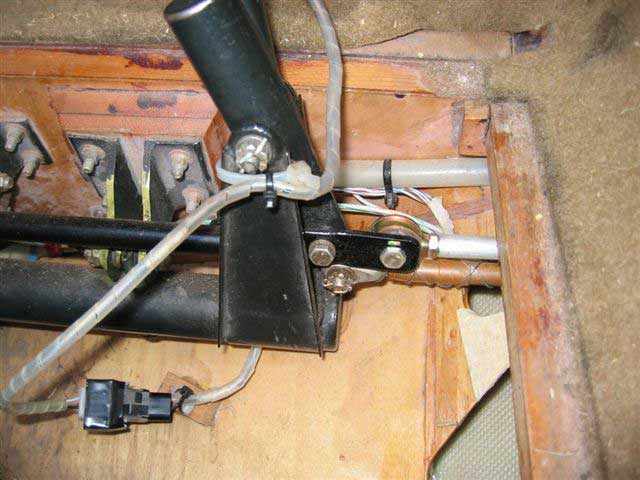
The pushrod bearing is connected to the bell crank directly with a 3/16 AN bolt and penny washers like in the aileron. I drilled through the bellcrank in situ and deburred the hole on both sides. The hole is above the elevator cable hole and the pushrod lies parallel to the cable. The wiring was easy - just make sure that the loom is secure enough and far enough away to not foul the cables in any travel position. All the wire connections are soldered into tiny holes. Years ago when my eyesight was heaps better, this job wouldn’t have been a problem but today it is much harder to do. With the help of a wire-holding jig and a magnifying glass it all worked out okay.
When installing both servos the control surfaces have to be in the neutral position as well as the servo arms being perpendicular to the pushrods. This ensures that the servo has plenty of travel in both directions and won’t go anywhere near over-centre.
There are both pitot and static lines to install as well. These should be installed as near the altimeter as practical. The only problem with this job is pulling the panel out once again. When I was near the end of building our Falco and was removing the panel, I foolishly stated that this would be the very last time I would ever have to take it out. Ha Ha, 10 times later I’m not game to make such a bold statement again. Speaking of pulling the panel out, both servos have the option to be reversed in direction by swapping wire positions. The roll servo is easy as you can just reverse the wires at 4 and 5. (Soldered connections) The pitch servo uses pin Nos 1 and 2 by installing or removing a jumper between these pins at the back of the AP unit itself. I figured that I didn’t particularly want to pull the panel out again if I hadn’t worked out the directions properly, so I installed a long wire jumper. This wire loop was long enough to be accessible when everything was back in place.
Once everything is in place, it’s obviously time to turn it all on and see what happens. Well, when I hit the power I thought all hell had broken loose; the rear servo was moving and making a terrible noise. The servo arm was moving in jerky movements and then forcing itself back towards neutral and starting all over again.
To make a real long story short, what was happening is exactly what is supposed to happen, but not explained clearly enough (at least not for me) in the installation manual. What was happening was the AP is trying to hold the aircraft straight and level and the elevator is sitting there in a nose dive configuration so it instantly tries to raise the nose but the elevator is too heavy for the clutch in the servo so it slips back to the neutral position and then starts again. We tried various things like supporting the elevator, levelling the waterline and holding the stick back. In fact, any and everything that we could think of. All to no avail.
On the suggestion of our supplier, we pulled out the aileron servo (which was behaving) and swapped to see the reaction. The aileron servo did exactly the same thing whilst the pitch servo was perfect in the aileron position. The long and the short of all this ramble is the elevator is too heavy whilst on the ground and no matter what torque you set on the AP unit, it will still slip badly, but as soon as you are in the air all the load is aerodynamically carried, and it is perfect. As long as you are 110% sure that the AP disconnects on demand, the easiest thing is to just go and fly to test it out.
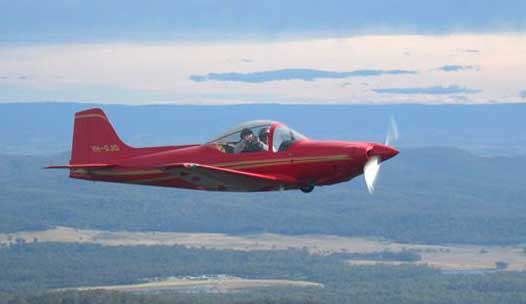
As mentioned earlier flying with the Trutrak is very easy, either in the GPS mode or in the synchronized magnetic mode. The only problem that I have found with the unit, and this showed up when I was showing off to Stephen Friend, that when I turned it on it gave a heading about 30 degrees off our actual. I’m sure this is the operator’s fault, not the units.
When the unit is turned on whilst in flight, the knob has to be held in for at least 10 seconds to initialize the gyros. The first few times we turned it on in flight, I just pressed the knob in to start and didn’t hold it in. If the unit is turned on whilst on the ground at start-up the initializing happens there and gives true readings. Even though we have only flown through pretend cloud, it sure is a strange feeling sitting there with your arms folded just watching the plane fly itself on an extremely stable descent path to a distant point.
|
|
![]()