|
|
To draw a circle with this tool, place the cursor in the drawing area at a location that will represent the center of the circle. Press the mouse button. Drag away from the starting point to enlarge the circle. The radius of the circle will show in the Edit Window, and you may tab into the Edit Window to edit the radius. Release the mouse button to complete the circle. The circle will be placed in the drawing. Converting Objects to Ellipses
Press and hold down the Shift and Option keys. The cursor will change to a Yin-Yang cursor. Click on the object in the drawing. The object will be converted. Note that this technique can be used to 'close' an arc.
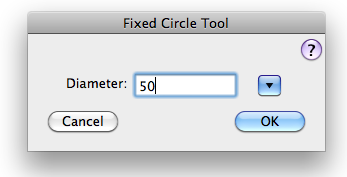
In the tool's dialog, type the diameter. To use the tool, click in the drawing. Adopting a Diameter
To draw with this tool, place the cursor in the drawing area
at a location that will represent one of the points on the circle.
Press the mouse button. Drag away from the starting point to enlarge
the circle. You may tab into the Edit Window to edit the diameter
of the circle. Release the mouse button when you have reached
the desired end point. The circle will be placed in the drawing.
To draw with this tool, place the cursor in the drawing area at a location that will represent one of the points on the circle. Press the mouse button. Drag away from the starting point to the second point and release the mouse button. Move the mouse to the third point and click. The circle will be placed in the drawing.
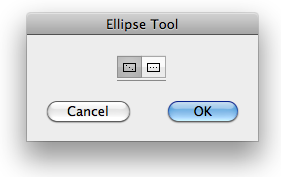
In the tool's dialog, choose whether the tool will draw from corner-to-corner or along-the-middle.
To draw an ellipse from corner-to-corner, place the cursor in the drawing area at a location that will represent one corner of a rectangle enclosing the ellipse. Press the mouse button. Drag away from the starting point. You may use the Shift key to constrain the angle of the corner-to-corner line--when constrained to 45° this will give you a circle. You may press the Option key to toggle between drawing from center and normal drawing. You may tab into the Edit Window to edit the height and width of the ellipse. Release the mouse button to complete the ellipse. The along-the-middle method allows an ellipse to be drawn by a line in the middle and then expand the width of the ellipse on either side of the line. To draw an ellipse along-the-middle, place the cursor in the drawing area at a location that will represent the starting point of the line down the middle of the ellipse. Press the mouse button.
Drag away from the starting point. You may use the Shift key to constrain the angle of the line. You may tab into the Edit Window to edit the length and angle of this line. Release the mouse button to complete this line. Move the mouse to the side of the line (shown in gray) to expand the width of the ellipse. You may tab into the Edit Window to edit the width. Click the mouse to complete the ellipse. The ellipse will be placed in the drawing.
To draw an ellipse with this tool, place the cursor in the drawing area at a location that will represent one corner of a rectangle enclosing the ellipse. Press the mouse button. Drag away from the starting point to draw a line along one side of the enclosing rectangle. This line may be at any angle. You may use the Shift key to constrain the angle of the line. You may press the Option key to toggle between drawing from center or normal drawing. When you select drawing from center, you are drawing not only the line, but also the ellipse from the center. You may tab into the Edit Window to edit the angle of this line. Release the mouse button to complete this line. Move the mouse away from the line to set the height and width of the ellipse. You may tab into the Edit Window to edit the height and width of the ellipse. Click the mouse to complete the ellipse. The ellipse will be placed in the drawing. |
![]()
Go back to WildTools