|
|
To draw with the tool, you click and drag in the drawing. As you draw the line, the length and angle show in the Edit Window and Show Location bar. You can interrupt the process of drawing by tabbing into the Edit Window to edit the length and angle of the line on the fly. As you draw the line, you may press the Option key to toggle between draw-from-center and normal line drawing. Converting Objects to Lines
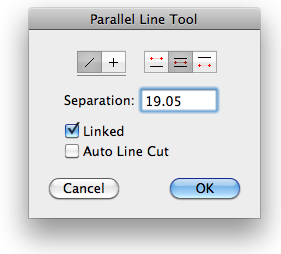
In the tool's dialog, you can set the behavior of the tool and the line separation. If the Linked option is selected, the lines placed will be a parallel object and thus will behave like a single object. If Auto Line Cut is selected, the tool will cut lines as you draw.
The tool can adopt the length and angle of existing lines in the drawing, and this allows you to quickly copy angles and lengths in the drawing without having to know the actual angles or dimensions. This capability is very useful for drawing things like picket fences where there are a large number of repetitive lines of the same length and angle.
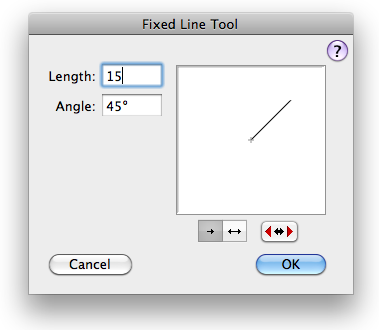
In the tool's dialog, you set the length and angle of the line. Other buttons and controls allow you to adjust the angle and direction. To use the tool, you click in the drawing to place a line at the set length and angle. --or-- Click and drag in the drawing to place a line at the set angle but at a length that is determined by the mouse. Before releasing the mouse, you may press the Option key to toggle between drawing from center or drawing normally. You may also tab into the Edit Window to edit the length and angle of the line. Even after dragging some distance, you may use the Shift key to constrain the line to the set length. Tangent snaps to circles are available on request prior to the mouse click. To 'adopt' the geometry of an existing line:
Click on any line in the drawing. You may also click on a side of a rectangle or polygon, even in a group. The tool is smart about noticing which end of the line you click on, and it will set the angle toward the center of the line.
The tool can also convert existing lines to centerlines that are symmetrical about the dash pattern. To use the tool, click on the object in the drawing on which the centerlines are to be placed and click the mouse. In the case of a rounded rectangle, click, drag to the desired corner of the object and release the mouse button. The centerlines will be placed in the drawing. Note that the centerlines are placed so that the dash patterns are symmetrical about the center of the lines and the line length is set so that it results in a crossing solid piece at the center. If the object is too small to get a sensible dash pattern on the object, then short solid lines are placed. Converting a Line to a Centerline
Create a line as shown. Press and hold down the Shift and Option keys. The cursor will change to a Yin-Yang cursor. Click on the line in the center. The line will be lengthened as appropriate. You can do this repeatedly to get an increasingly long line that is symmetrical about the dash pattern.
You can use the Yin-Yang cursor to convert a line, dimension line, rectangle or rotated rectangle to guidelines. |
![]()
Go back to WildTools