Al Aitken
![]()
Al Aitken |
|
|
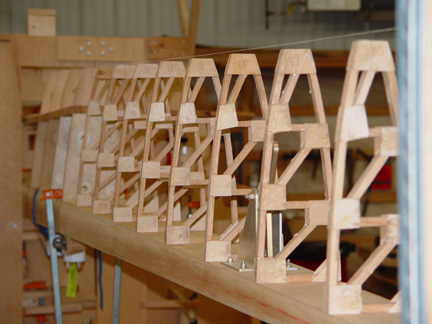
Here the leading edge ribs on the left side have all been aligned with the leading edge alignment string by sanding the back edges of the ribs until the rib, when set in position with its chord line precisely on the chord line marked on the main spar, had its chord line pointing exactly at the leading edge alignment string |
|
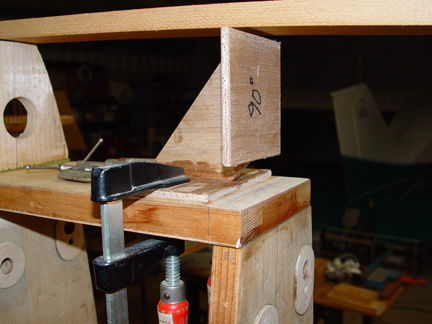
Once all of the leading edge ribs were properly aligned with the leading edge alignment string, it was time to mark and sand the front edges of the ribs to perfectly fit the angle of the leading edge strip. This was done by stapling a straight piece of 2mm plywood on the inboard face of the #1 leading edge rib at the proper rib dimension and parallel to the front wing spar. |
|
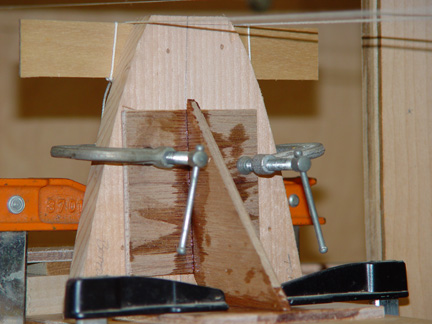
The #1 leading edge rib was braced for the tension of the double alignment strings |
|
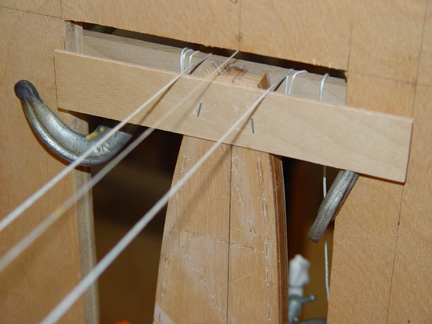
The same was done on the inboard side of the #14 leading edge rib and the double alignment strings were pulled across the 2mm plywood straight edges. With the alignment strings in place, it was a simple matter to move a straight edge up to barely touch both alignment strings and then mark the leading edge strip marks on both sides of each leading edge rib in turn |

|
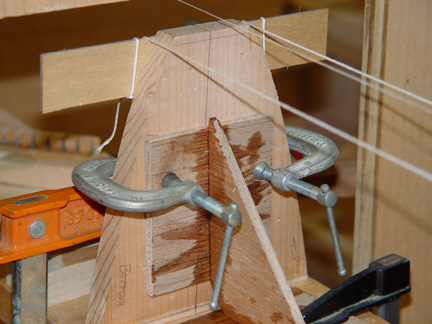
The #14 rib was braced before the double alignment strings were pulled taught. The tension on the strings was actually taken by the wood brace on the back side of the #14 template that you can see in the previous photo |
![]()
![]()
|
|
Go back to Al Aitken