Luigi Aldini |
|
|
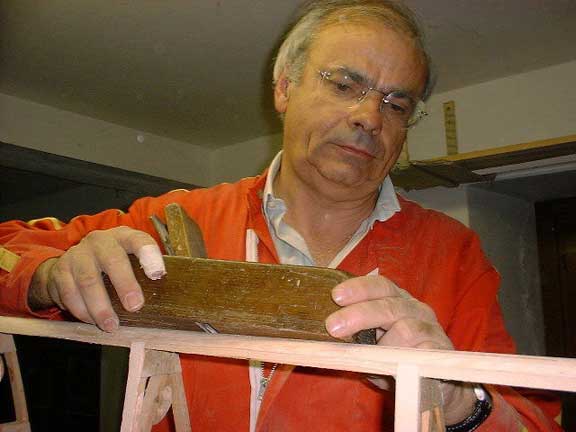
After having glued the leading edge you need to sand it so that it takes the right curve. We found useful to use this old planer to smooth the angles. |
|
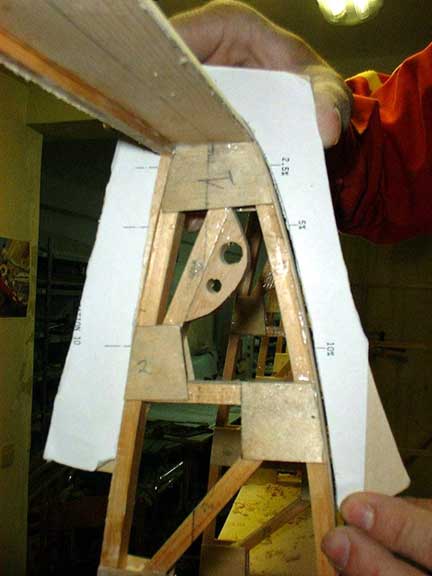
How to see when the rib has the right shape? We made a copy of the rib's drawing (and checked for right measures) and glued it on plywood. The result is an useful instrument to check how much wood you have to sand (or add). |
|
This is the finished rib. The one in the picture is the number 14 rib. As you see there is a modification over the original profile. Ing. Frati gave us drawings he made to improve stall and aerobatic behaviour of the Falco. We needed to add some spruce to the last four ribs in each wing. The SF.260 and the Falco have the same wing geometry, and when the military versions of the SF.260 was produced, it had a very high stall speed clean (101.5 mph) and the stall was very sharp. As a result, Mr. Frati designed a drooped leading edge cuff for the outer portion of the wing and this was installed on the SF.260C models. He then produced drawings for the Falco with the same geometry, but this was never used in any of the production Falcos. To my knowledge, Luigi Aldini's Falco is the first one to use the drooped leading edge for the wing. -- Alfred Scott |
|
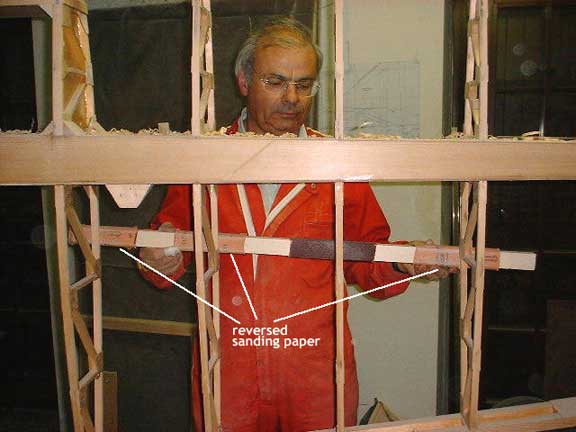
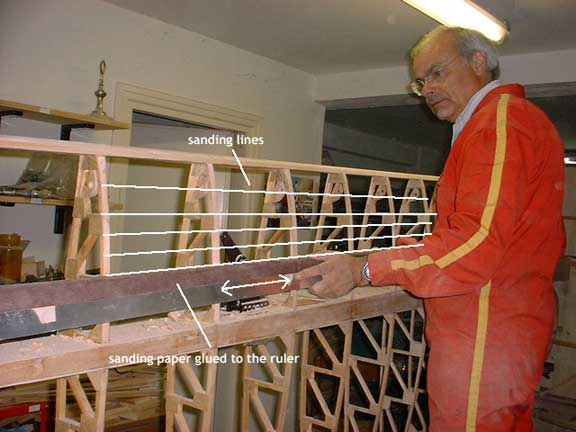
For giving the rib the right height we made this tool that sands one rib and supports on the other three ribs. But also the sanding paper has an height, so we used the same sanding paper reversed. It's necessary to follow the sanding lines as shown in the following picture. |
|
It is very important to sand following the sanding lines because the profile of the rib varies depending on the rib's length. After the first rough work we used this long straight ruler to sand the ribs. |
|
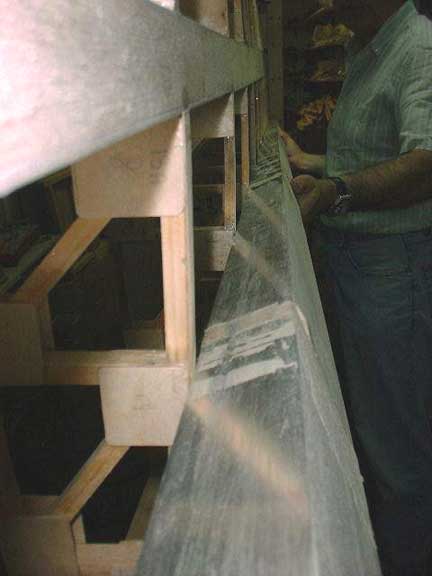
The ruler is used also while checking for right alignement. Also in this operation you need to follow the lines as shown before. |
![]()
![]()
|
|
Go back to Luigi Aldini