Al Aitken
![]()
Al Aitken |
|
|
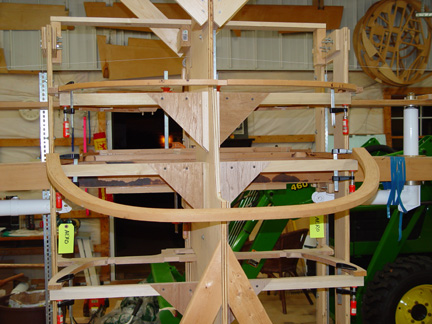
Good view of the fuselage frame supports in place |
|
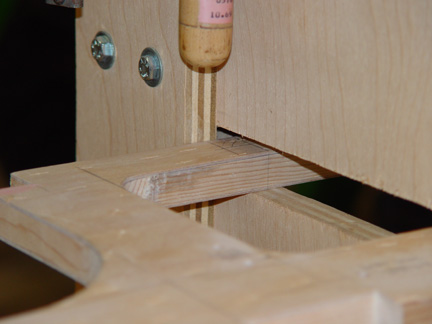
The #5 fuselage frame centered on the main jig board and clamped |
|
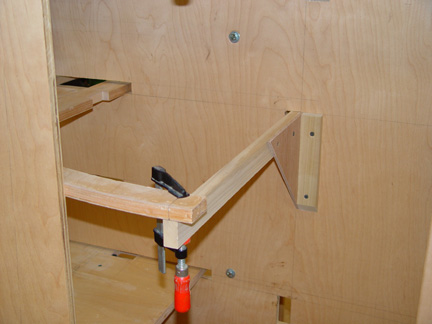
The #5 fuselage frame upper portion clamped to the frame support board |
|
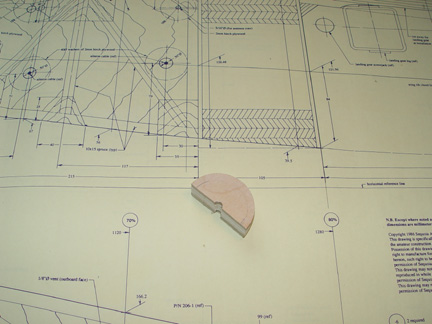
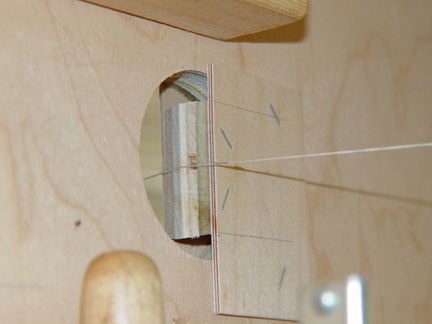
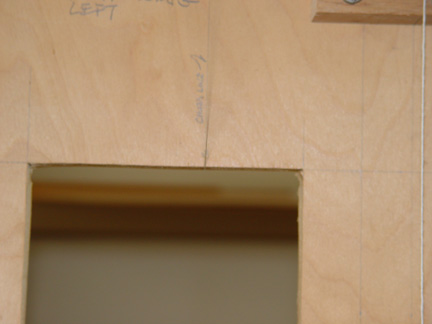
This is the plug used to ensure the leading edge alignment string passed precisely through the center of the main jig board. I stretched the alignment string from the #14 template chord line past the #1 template to the main jig board and made a mark where it hit the main board. Then I drew two concentric circles at 1 ¼” and 2” centered on that mark. I then cut the circle out with a 2” hole saw and sanded the plug on my disc sander to the 1 ¼” line making the plug smaller than the hole and movable within that hole. See the next photo. |
|
I cut the plug in half and sanded a knife edge taper on the straight side ensuring the knife edge was exactly in the center. Then I stapled a plywood side on one side of the plug, inserted the plug into the hole in the main jig board and stapled another plywood side to the plugs other side giving me a slightly moveable plug with a wooden knife edge. I stretched the leading edge alignment string from the left #14 template chord line across the knife edge plug and to the right #14 template chord line and secured the line taught. Then I moved the plug a little to ensure the leading edge alignment string passed across both #1 template chord lines and stapled the plugs plywood sides to the main jig board. This method gave me a very accurate leading edge alignment string. |
![]()
![]()
|
|
Go back to Al Aitken